
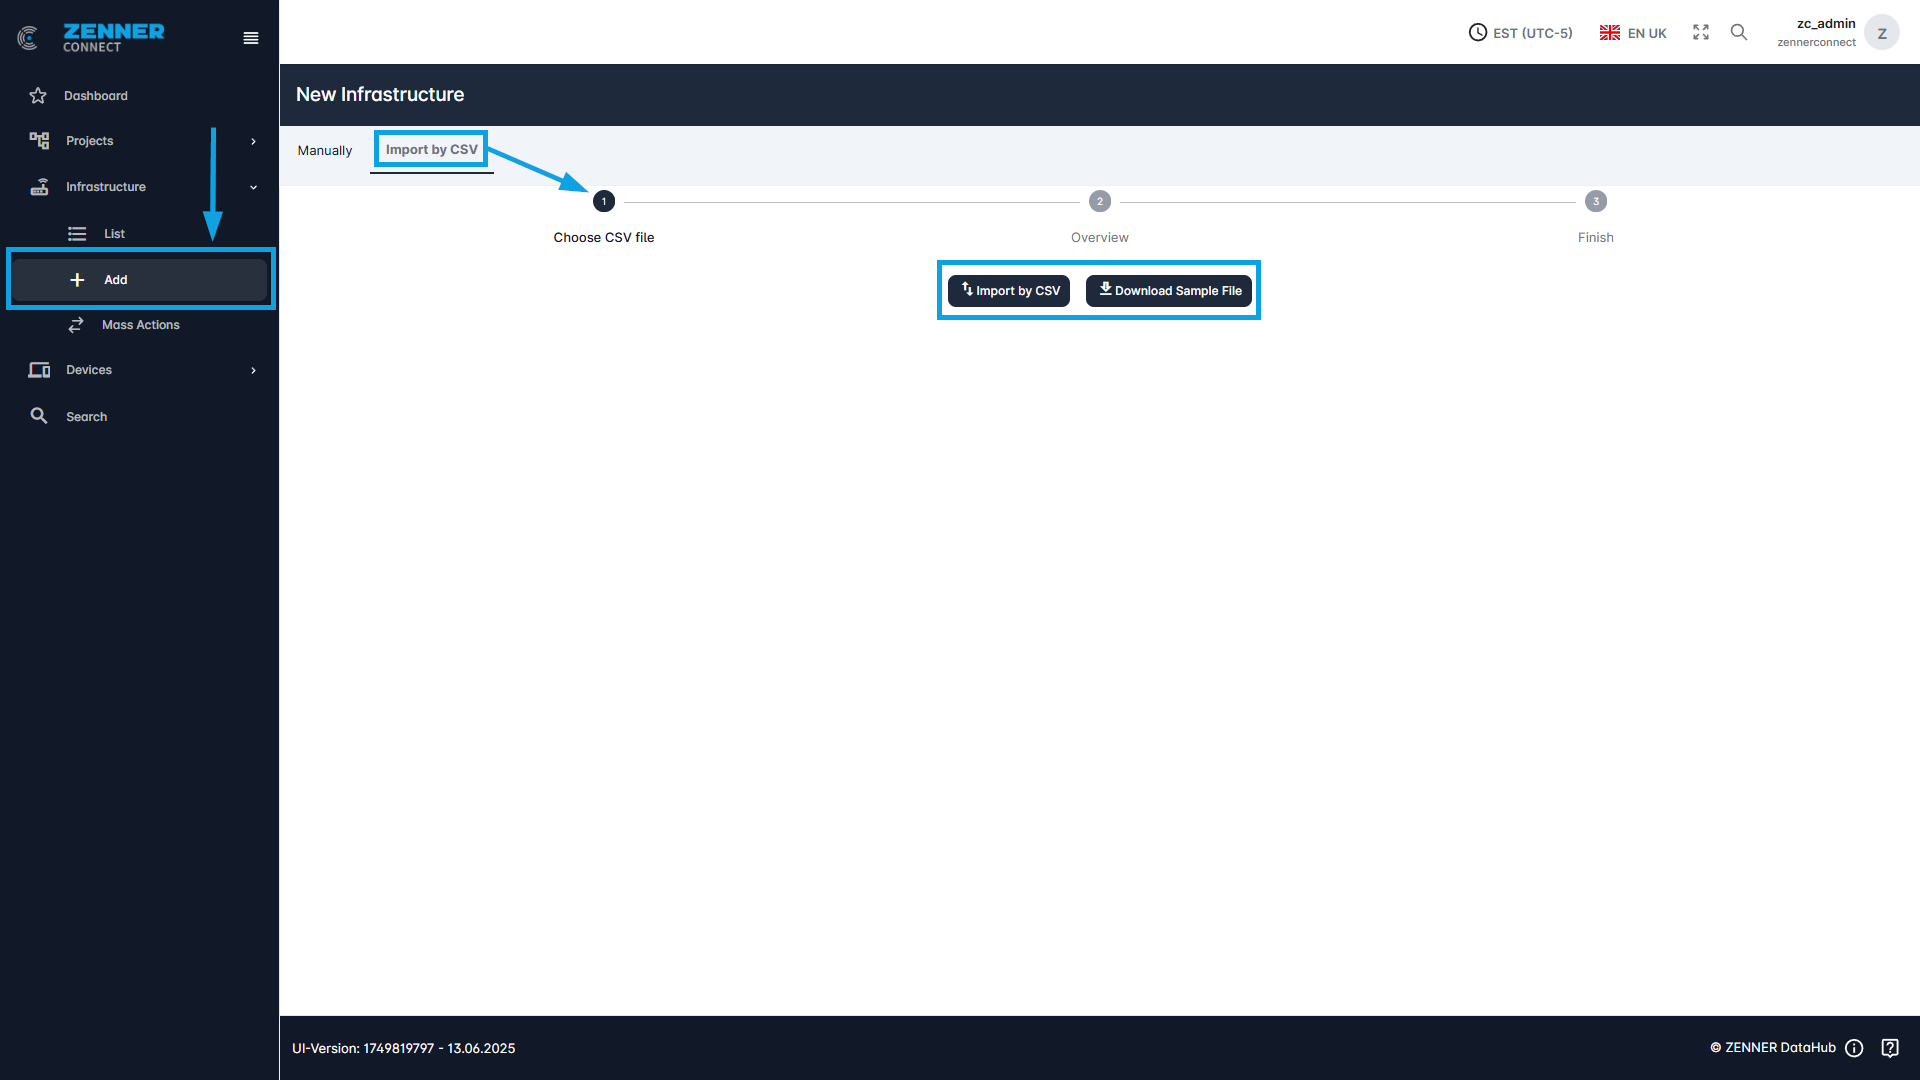
The second method to add new infrastructure components, like Gateways, is by CSV file import. This can be done either via Infrastructure “Add” under “Import by CSV” or via “Mass Actions”. This is useful if for example several Gateways are to be imported.
The sample file is downloaded for this purpose. The information on the respective Gateway is entered in the fields provided for this purpose. The sample file is then uploaded using the “Import by CSV” button.
Here is an example screenshot of a sample file:

The following table provides an explanation of each field/column when adding new infrastructure components:
Field | Meaning |
MAC Address | The MAC address of the gateway (Must be hexadecimal) |
Owner Number | Can be empty |
Project ID | This is the project ID. A project ID to assign the gateway to an existing project |
Street | The current street of the gateway is specified here |
Zip Code | Zip code of the gateway location |
House Number | House number of the gateway location |
City | City in which the gateway is located |
Latitude | Latitude at which the gateway is located |
Longitude | Longitude at which the gateway is located |
Floor | The floor on which the gateway is installed |
Status | Here you can select whether the gateway has been mounted or dismounted |
Related Object Number | Can be empty |
Contact Person | A contact person for this gateway |
Contact Phone | Phone number of the contact person |
Different Address | An alternative address can be entered here |
Material | What material the gateway is made of |
Comment | Comments about this gateway |
Installation Position (Room) | The exact data where the gateway is currently installed is given here |
Installation Type | The mounting position of the gateway can be entered here |
Installation Date | Here you can select when the gateway was installed |
Removal Date | Here you can select when the gateway was removed (if possible) |
Empty fields can either be left completely empty or a “-” can be inserted.